INTRO
If you’ve started hosting a static site for blog posts or as an portfolio website, you can implement dynamic features such as comment sections and chat services by delegating these functions to service providers such as Disqus or Drift. In this article I’ll walk you through how I’ve implemented these features on my website built with Hugo.
Disqus and Drift
Disqus
Disqus offers the comment plugin feature for your website. Instead of running a personal web server listening to users' POST requests, handling traffics, and all sorts of tedious yet difficult tasks, Disqus does all of the above for you. They have a range of subscription plans that you can choose from, including the basic free plan which I am currently using.
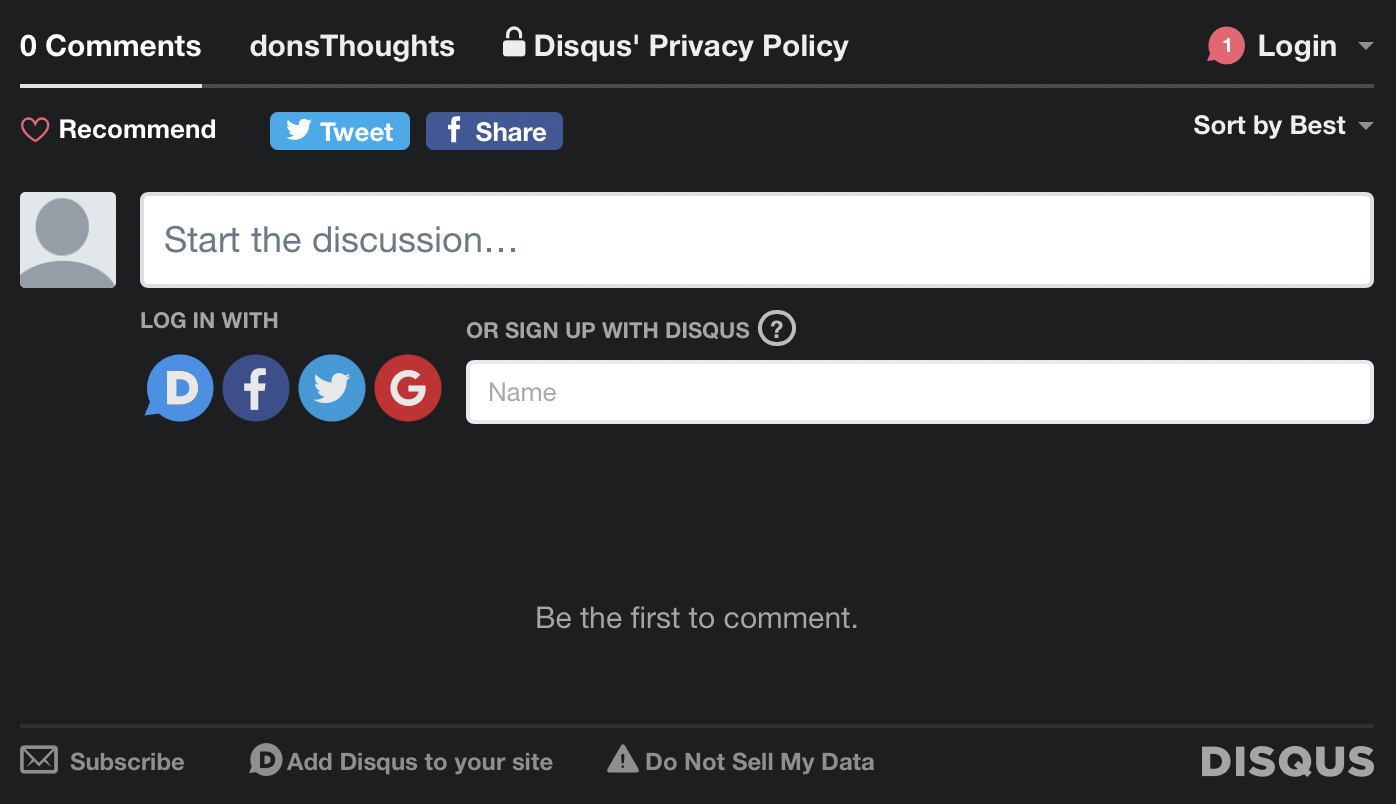
The following images is a screenshot of the Disqus comment plugin onto my static website. This is basically adding an HTML <div> at the end of your content and invoking a javascript function call that loads the comment template provided by disqus.
Drift
With drift, you can implement a chatbot widget which may offer website visitors a more personal experience. In your website it is actually a asynchronous javascript function which calls the chatbot snippet. This code should be inside of your <head>.

The chat messages you recieve from visitors can be managed via their website or on their mobile app. The welcome message, chatbot name, and the location and the color scheme of your drift plugin can be configured on their website.
Setup
I won’t be covering every step extensively since there are various articles covering this topic. However, I will focus on how you can implement this to your hugo theme.
Sign Up
First and foremost, you will have to create an account and link your website to these services. This process is pretty straightforward since both these services offer easy and informative documentation.
You can sign up for disqus here. Note that you should remember the “Website Name”, since this shortname will appear later on as a variable in your config.yml or config.toml.
And for drift, here’s the link.
Setting up Disqus for single pages
What I’ve done with my website is,
- Add drift chat plugin for all pages.
- Add disqus comment plugin for every posts.
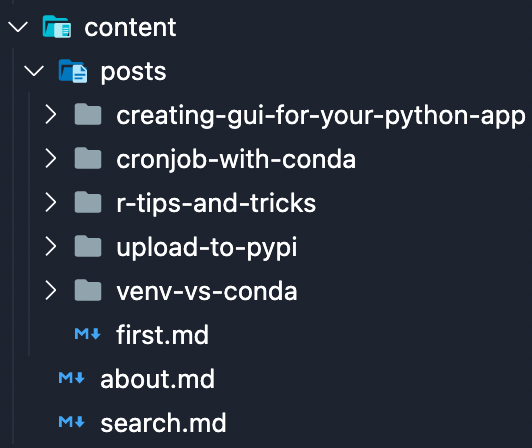
My content folder, which contains all my posts, the about and search page, will be converted to .html files by using the PaperMod theme based on my config.yml.
The layouts of your theme will be inside themes/<themeName>/layouts folder. Under the _default/ folder, the single.html file will be the layout that is used when creating a new post. Since the disqus documentation directs us to put the following code just above the <footer>, we can paste the html code generated from disqus in single.html. Then every new post will have the disqus comment section.
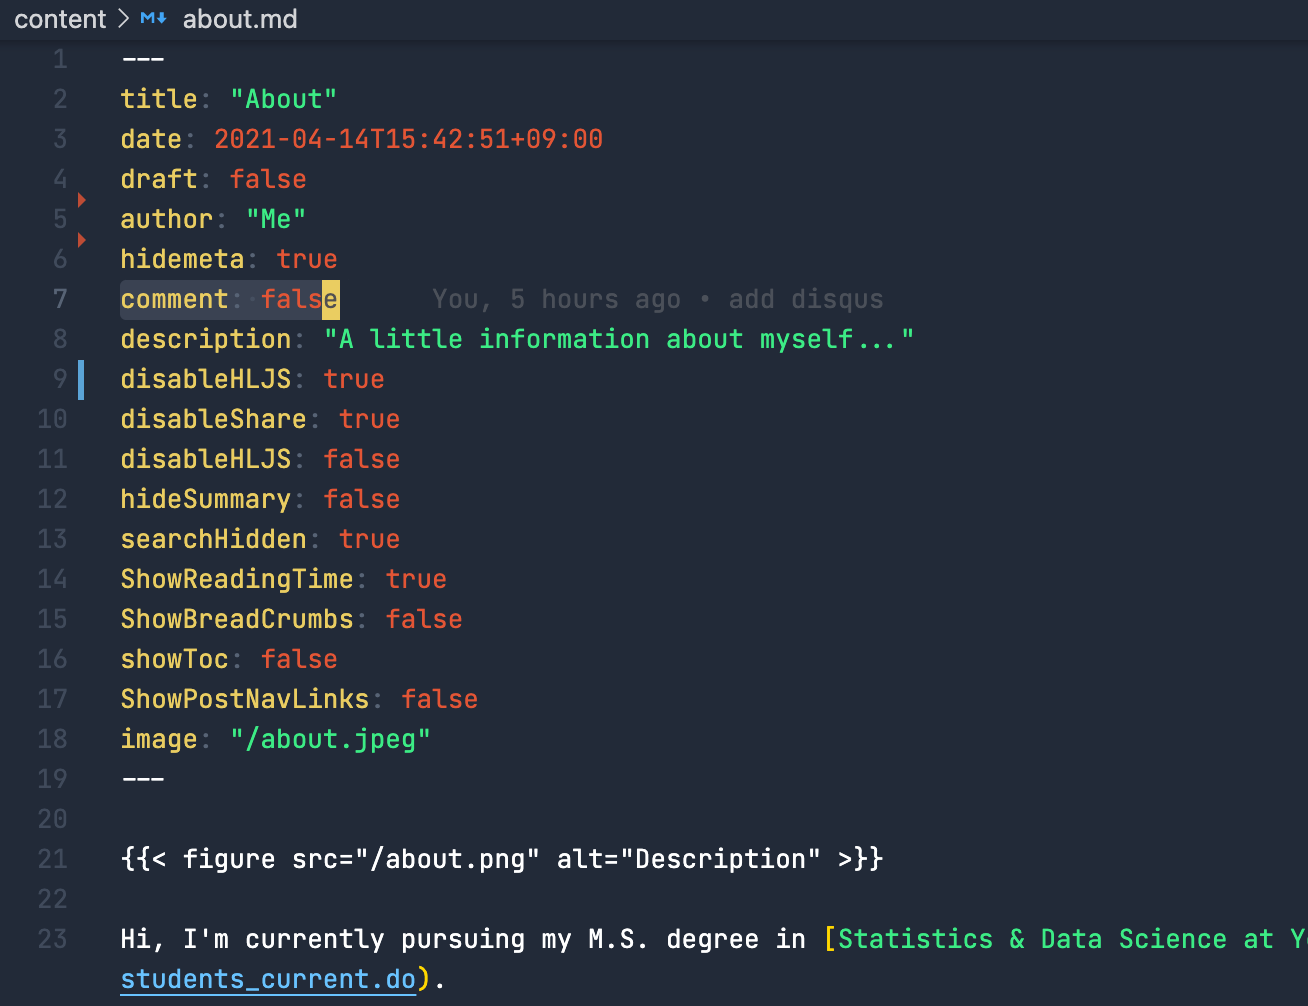
However, sometimes you would like to exclude comment plugins in some single page layouts, in my case, about.md. You can control this by setting a variable(something like comment) in your .md file’s frontmatter. We would like there to be a comment section in our markdown content if we set comment: true and false otherwise.
And when adding the html code generated by disqus, all you would have to do is add a hugo sytle shortcode if statement in the following way.
|
|
Therefore, when hugo converts the about.md the .Param "comment” is false so it neither creates nor loads the disques thread.
Setting up Drift for all pages
After signing up on drift, they instruct you to install some javascript code in your <head>. Since having the chatbot appear across all pages gives users a better personal experience, I would like the <script> to go in every <head>.
Under themes/<themeName>/layouts/partial you will be able to locate the head.html or the extended_head.html. If you see the latter, than copy the javascript code generated from your drift to extended_head.html. It should look like this…
extended_head.html
|
|
If your theme does not offer extended_head.html then just go the head.html and paste the code on top.
Thanks for taking your time to read and hope this helped! More information of using hugo will be uploaded soon.